
Warping a Rigid Heddle Loom: Step 1
Place the metal section of the clamps into the end holes at either the front or the back of the loom and clamp the loom to a table or other surface. Put the rigid heddle into the neutral position by placing it in the slots closest to the back of the loom.

Step 2
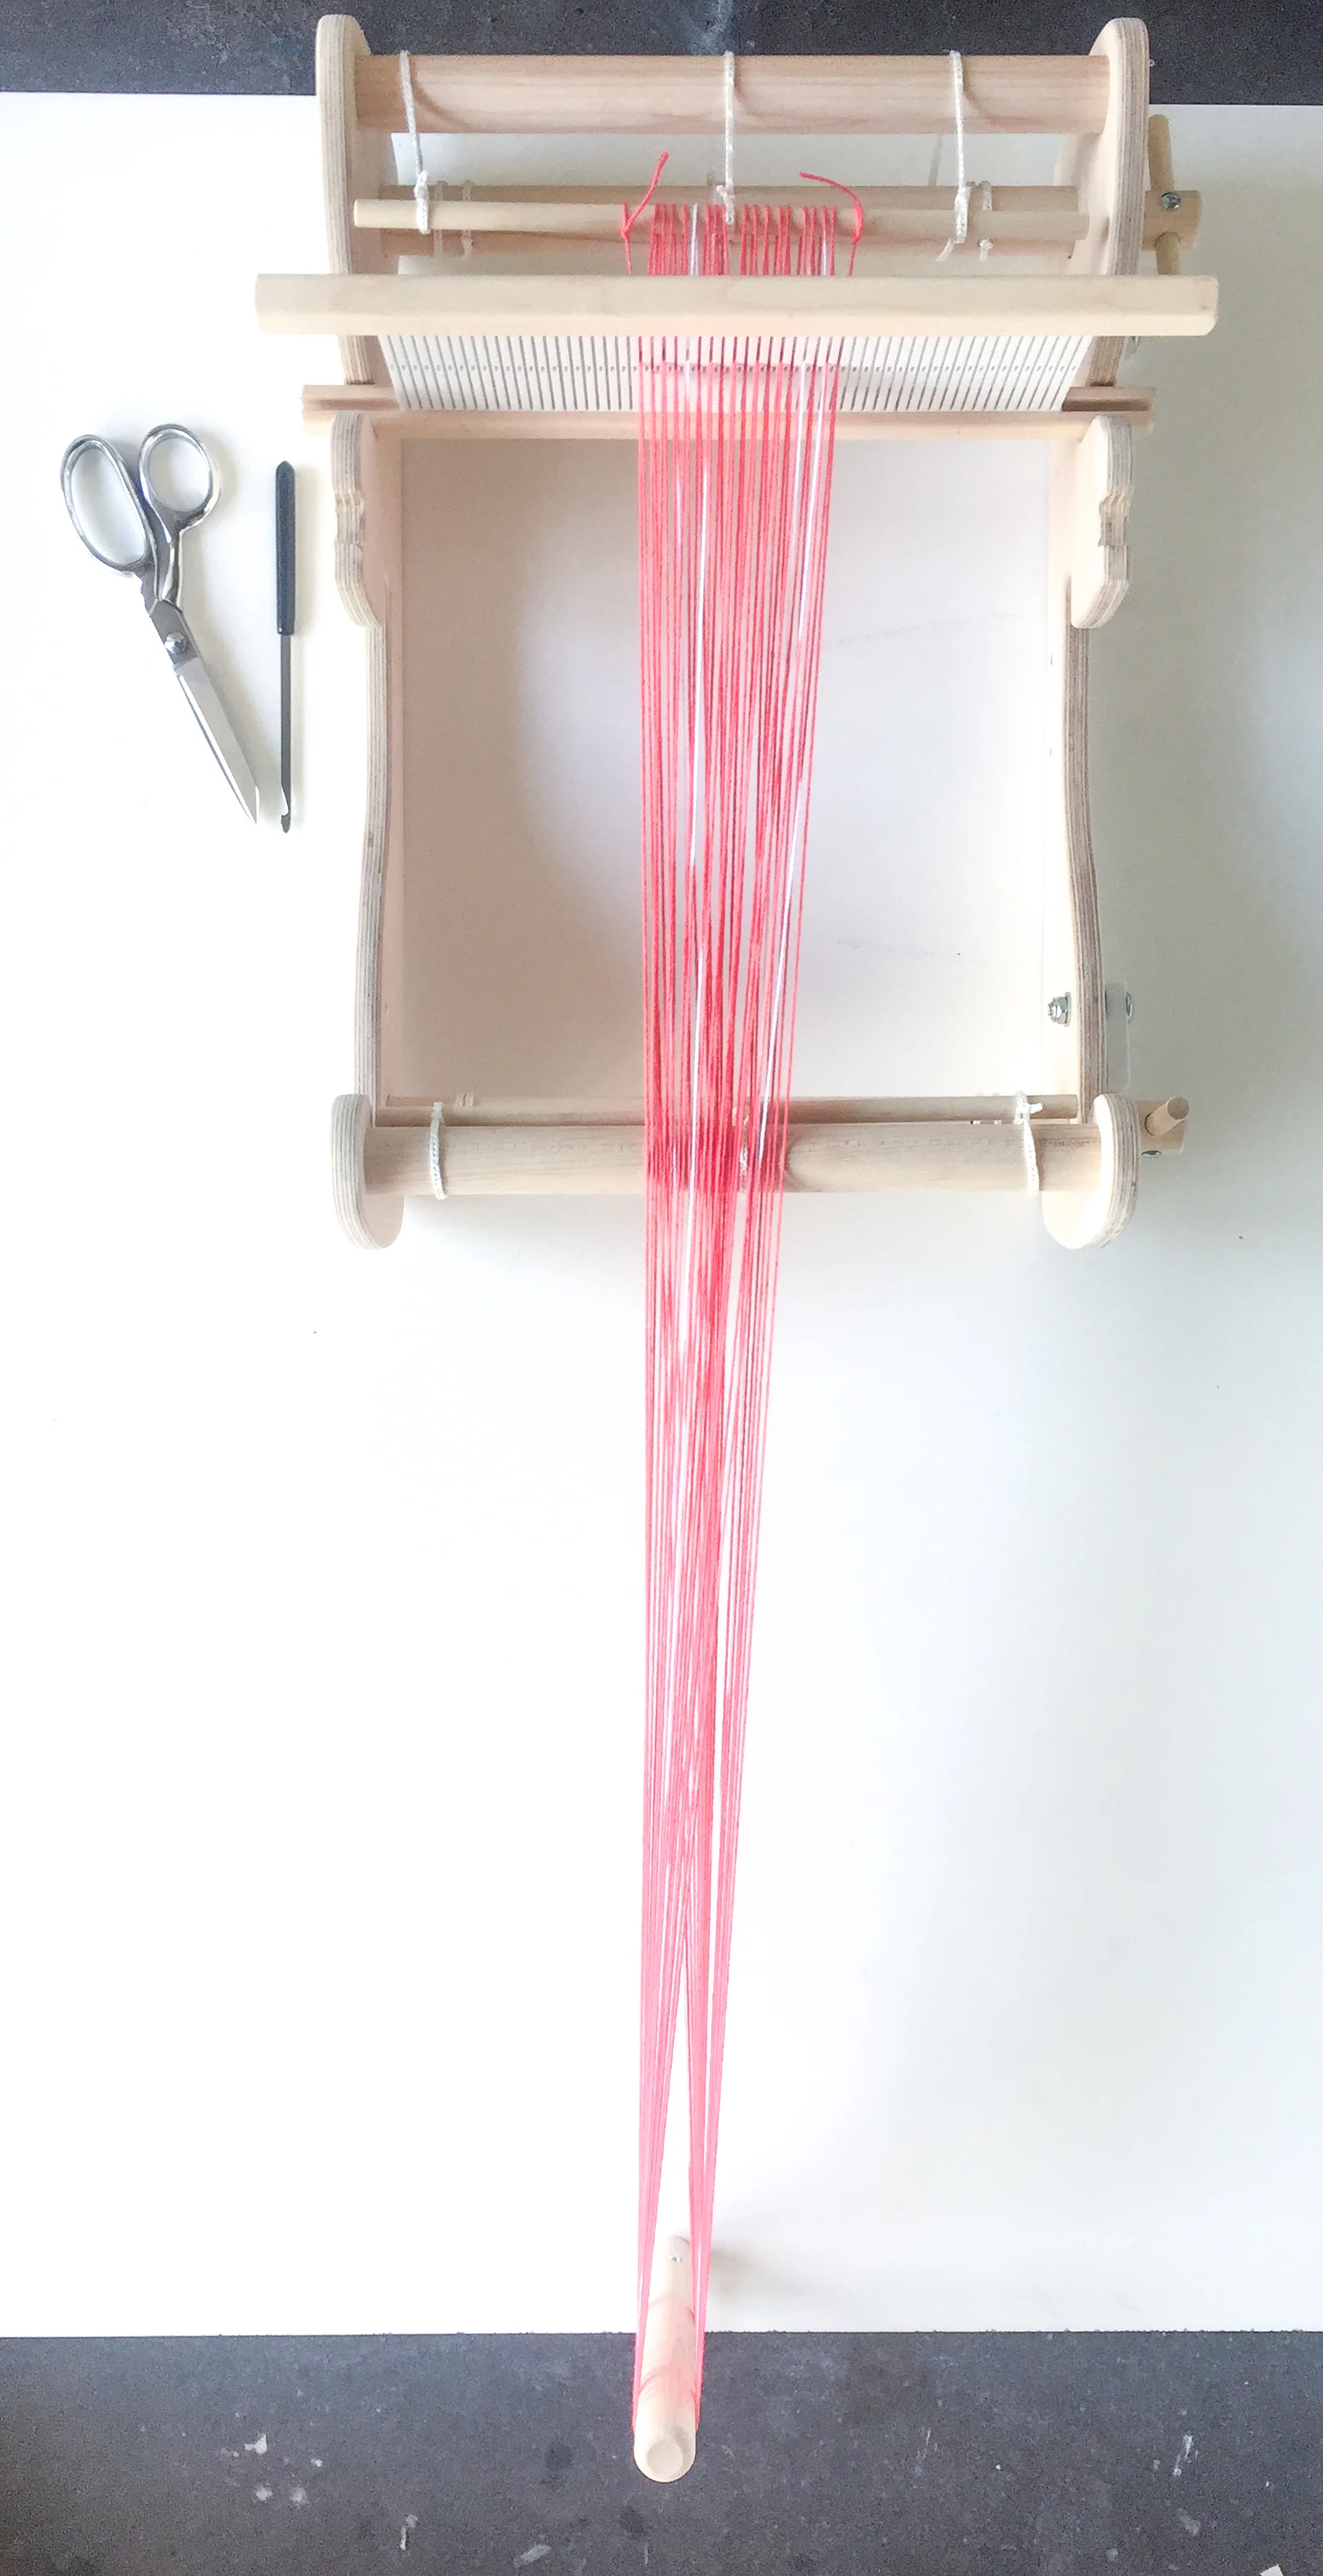
Insert the metal end of the third clamp into the hole in the warping peg. Using your determined warp length measurement, position and clamp the warping peg that distance from the back apron rod.

Step 3
Put your warp yarn on the floor behind your loom. You may want to put your yarn in an open container of some kind to keep it from wandering. We like to use empty oatmeal boxes and coffee tins.
Decide how to center your warp. Divide the planned weaving width in half and use that number to measure out from the center of the heddle on either side. These are your outermost edges, or selvedges.
Tie the end of your yarn to the back apron rod roughly in line with the outermost edge of your planned weaving width. Use a square knot or double knot to secure the yarn.

Step 4
Use the heddle hook to pull a loop of yarn through a slot in the heddle. To do so, slide the heddle hook, hook side down, from front to back through the slot in the heddle. Catch your yarn on the hook and draw it through the slot.

Step 5
Pull the loop of yarn through the slot on the heddle and place it around the warping peg. You've just created your first two warp yarns!
Return to the back apron rod and pull the next loop of yarn under the apron rod and through the next slot in the heddle. Place it around the warping peg.

Step 6
Return to the back apron rod, this time drawing the next loop of yarn over the apron rod. Pull it through the next slot in the heddle and place it over the warping peg.

Step 7
Continue in this manner, alternating under and over the back apron rod, until you've threaded enough slots in the heddle to cover your desired weaving width.

Step 8
Once all the yarns have been measured and drawn through slots, tie the end of the yarn to the back apron rod using a square or double knot, just as you did at the beginning of the warp.

Step 9
Remove the yarn from the warping peg and, holding it tightly in your hand, cut the loops.

Step 10
Use a loose overhand knot to tie the bundle of ends together. You will be untying this soon, so don't pull it too tightly.

Step 11
Begin winding the warp around the warp beam by holding the bundle of warp yarns in one hand and turning the warp beam crank with the other.

Step 12
When the warp has wound around the warping beam once, insert a heavy paper around the warp beam. This paper will separate the layers of warp winding on to the warp beam, keeping even tension. We like to use sturdy kraft paper, contractor's paper, or paper grocery bags cut to size.

Step 13
Continue winding the warp around the warp beam, holding tension on the yarns in one hand as you turn the crank with the other. Take notice of any loose or tangled yarns and stop to pull them tightly before continuing to wind. Make sure the paper is winding on straight and, if not, unwind to straighten it and start again.
Untie the overhand knot in the warp bundle when you get to it.
Wind until the end of the warp is about 6-10" from the heddle.

Step 14
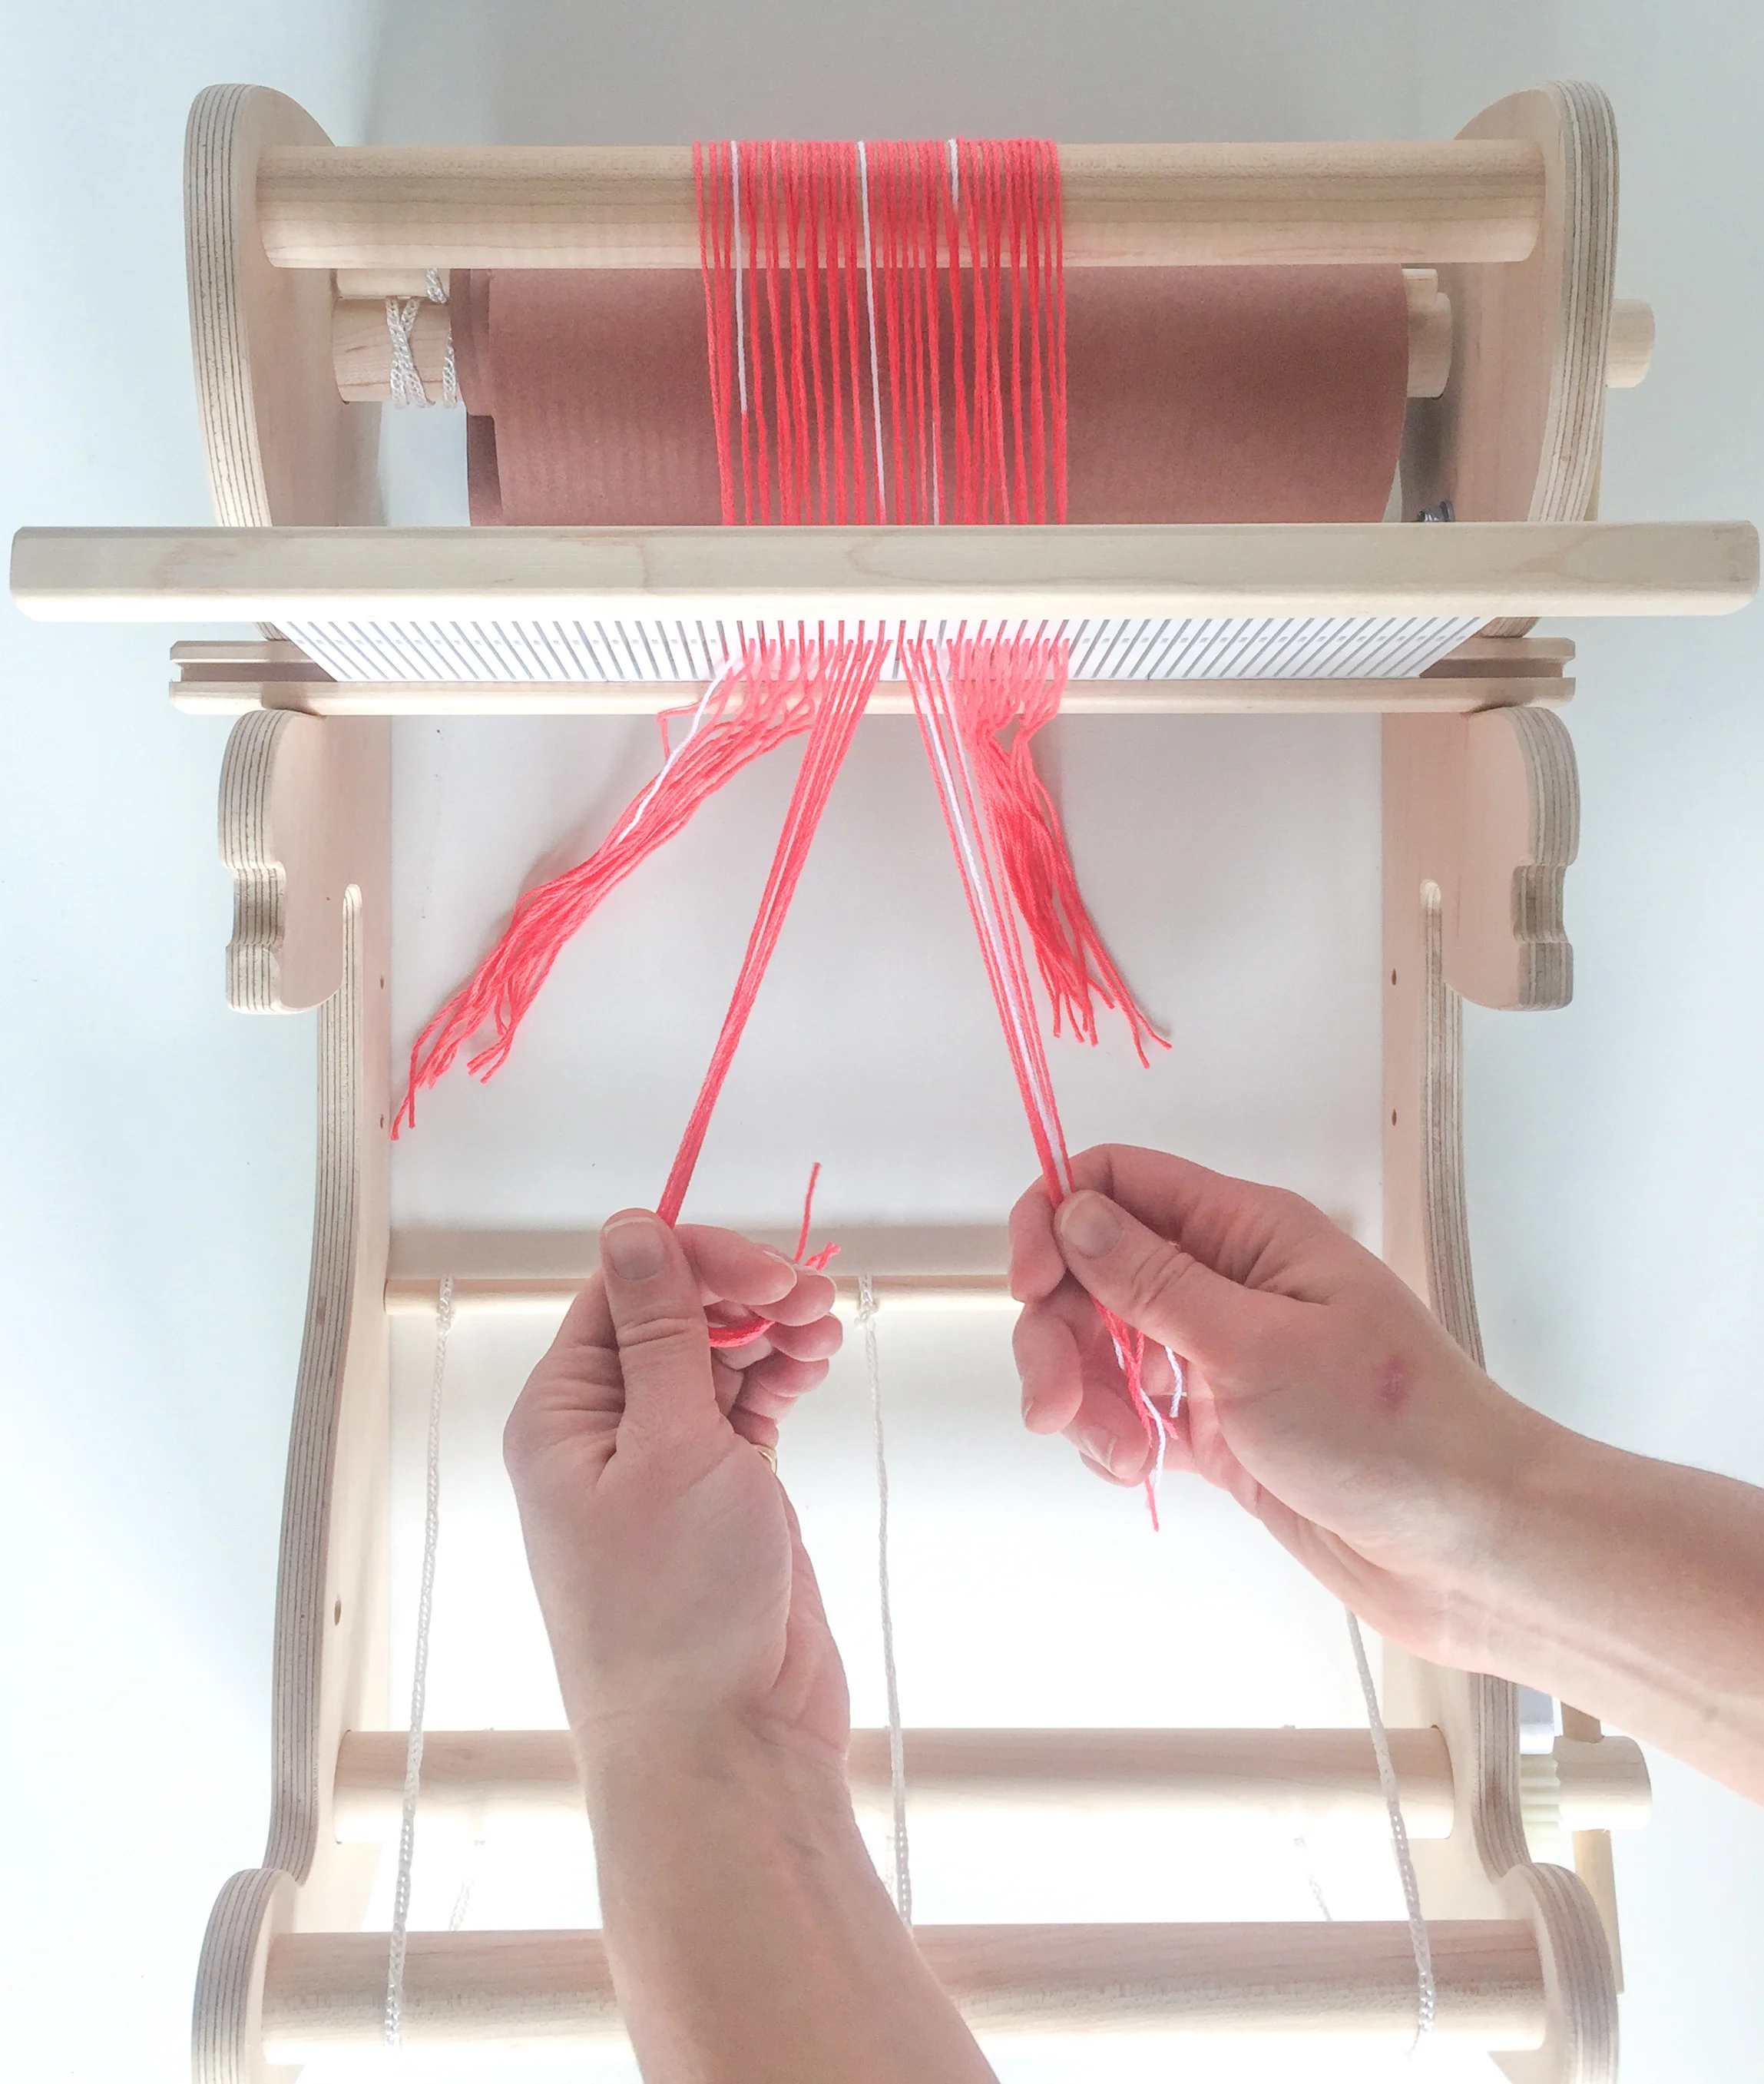
You will have two warp ends in every slot you've threaded. Remove one yarn end from the slot and thread it through the adjacent hole in the heddle using the heddle hook.
Start on either edge of the warp - your choice!

Step 15
Use the heddle hook to pull one yarn from every slot through its adjacent hole.

Step 16
Work across the warp until all holes have been threaded.

Step 17
When you're done threading, pull all the warp yarns tightly, checking to make sure that all of the necessary holes are threaded and that there are no crosses or threading mistakes.

Step 18
Divide your warp yarns into 1" sections.
Bring the front apron rod around and over the front beam and until it is about 6" from the heddle. You may have to release the ratchet on the cloth beam to allow more space in the apron cords.

Step 19
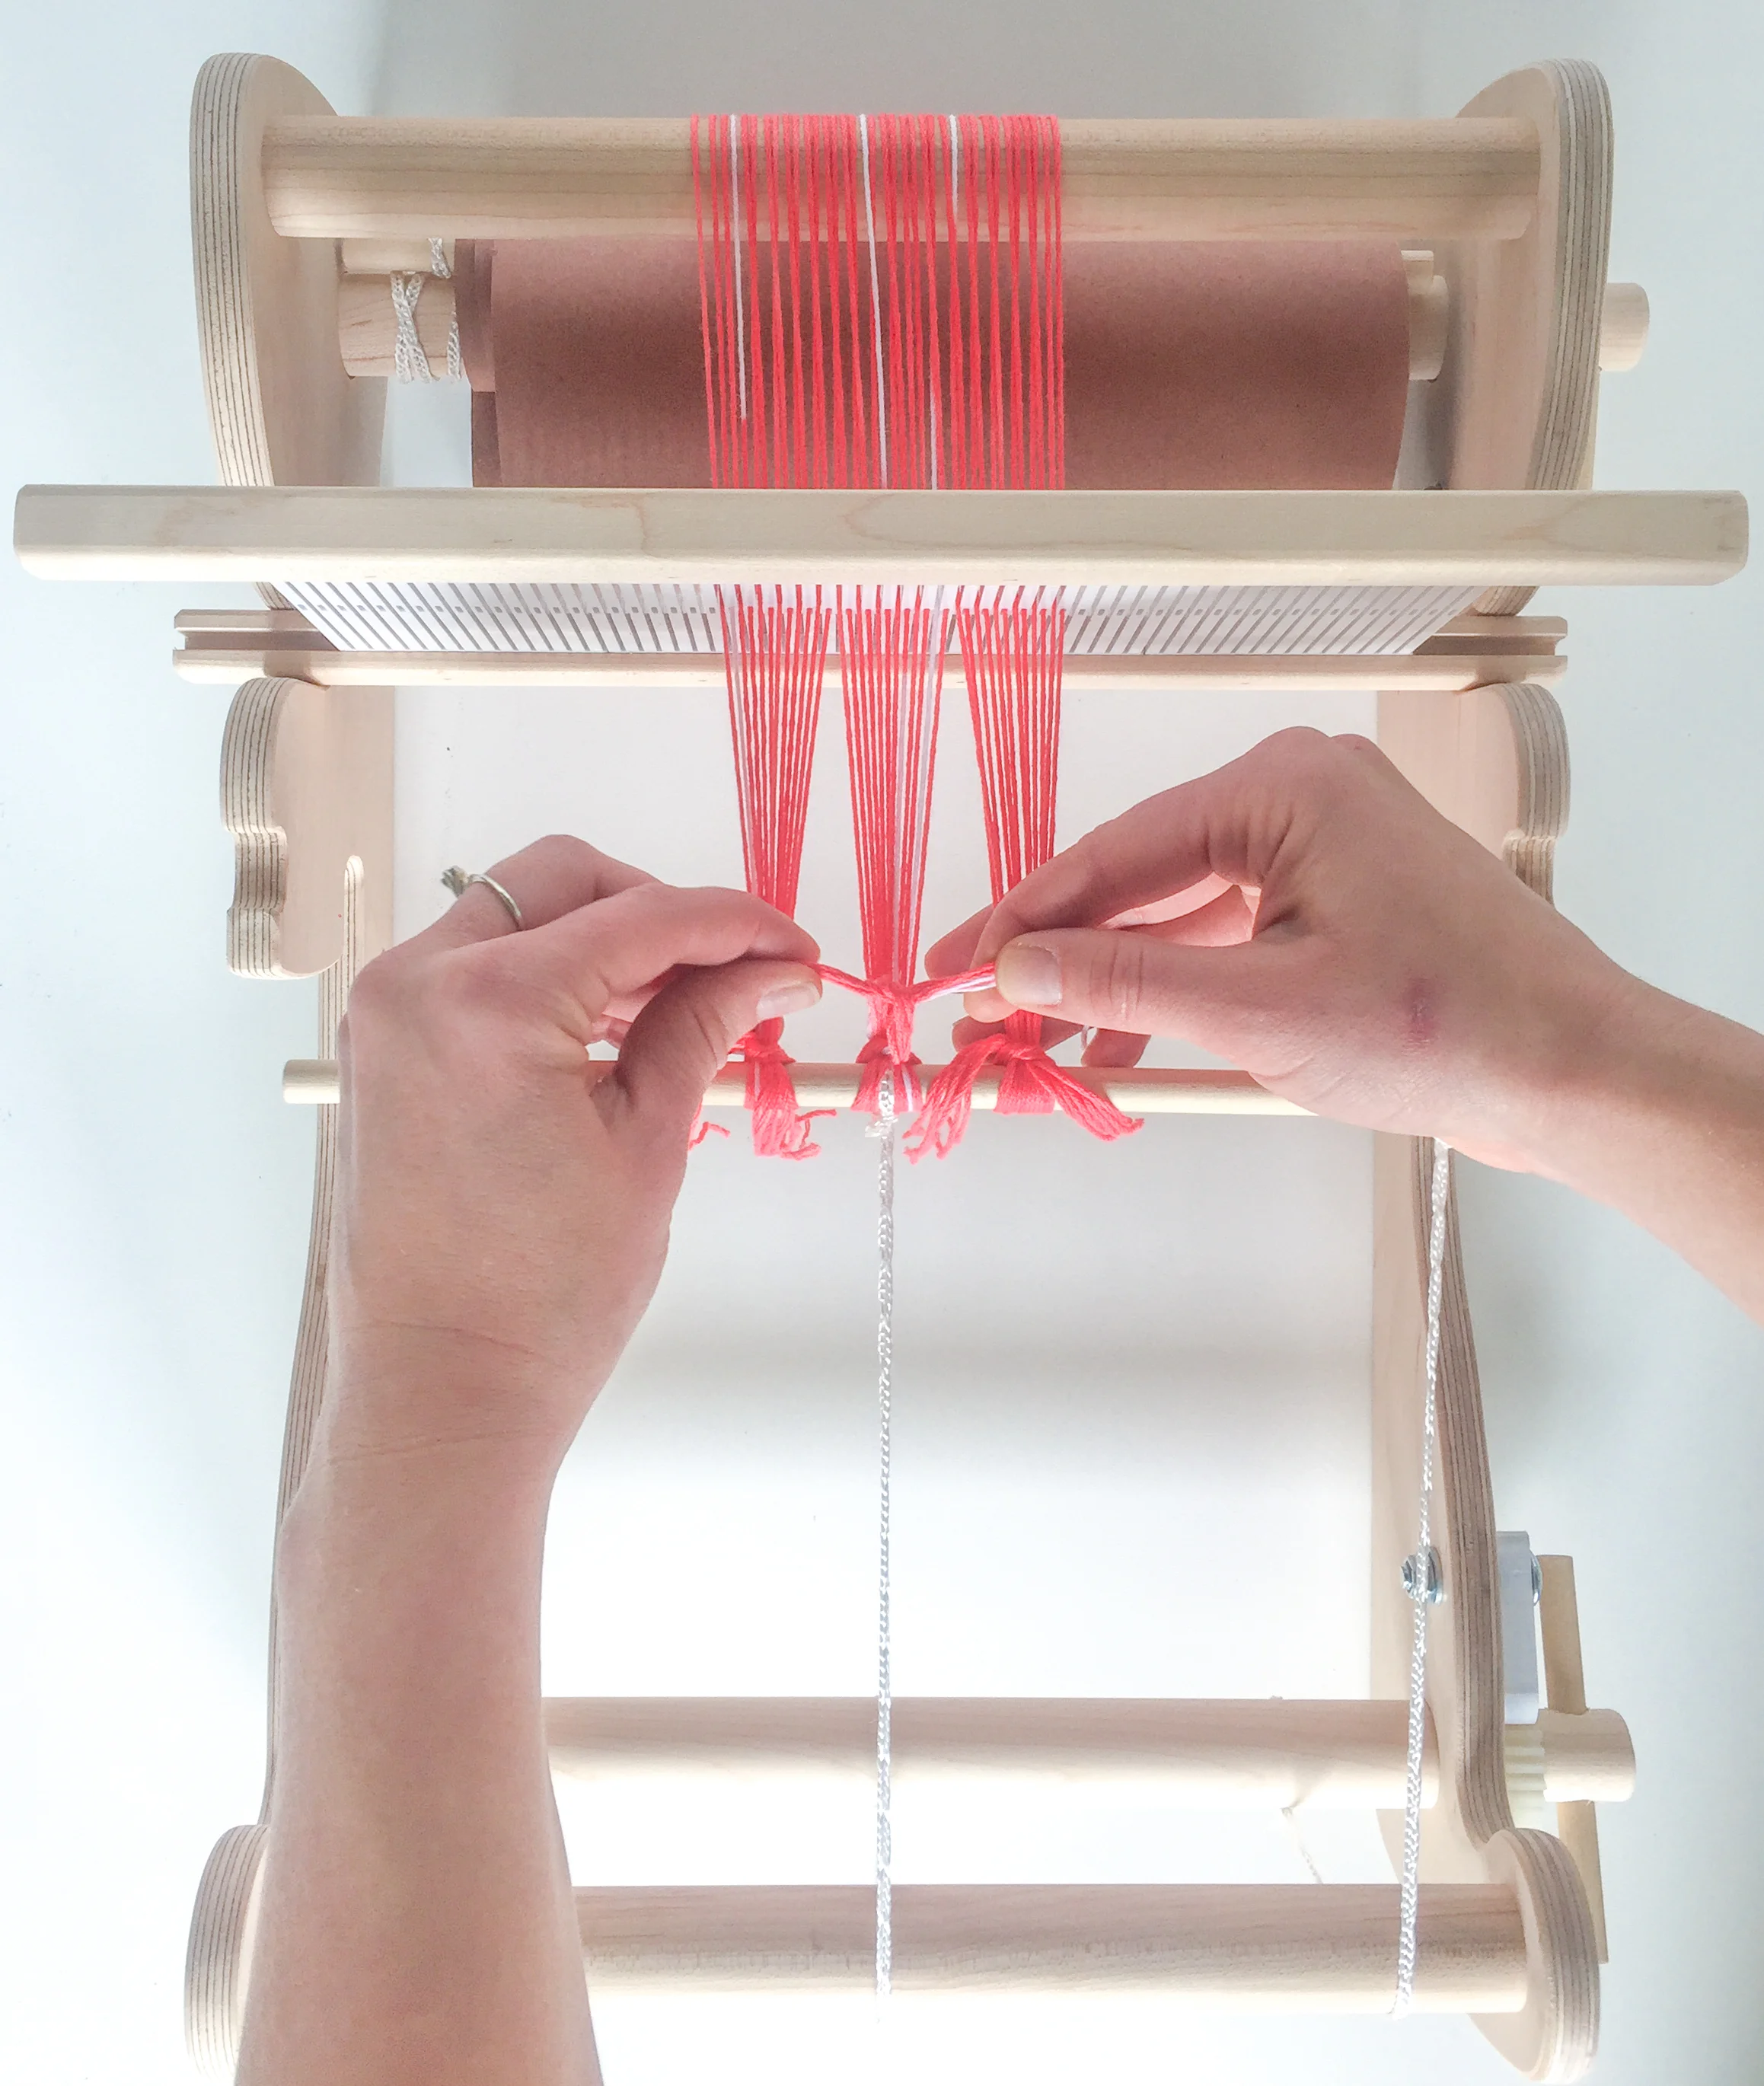
Begin with a 1" section close to the center. Divide it in half, using the heddle to determine the right and left halves. Bring those two halves of the section toward you over the apron rod.

Step 20
Bring the two halves of the section around and under the apron rod, pulling the ends to the outside of the 1" section.

Step 21
Bring the ends on top of the section and pull tightly. Tie them together around the 1" section with the beginning of a square knot (like you're starting to tie your shoes).

Step 22
Continue tying each 1" section on to the apron rod, working from the center out to the edges.
Once all sections are tied on, use your hand to feel for tension differences across the entire warp. If there is a section that is looser than the others, pull the two ends of the knot for that section to make the tension even.

Step 23
Once the tension is even across the warp, go back to each of the sections and double knot each one, making sure that the tension does not change as you work.
Double check the tension once you're finished.

Step 24
You're all tied on and the loom is dressed! Now give yourself some space to weave.
Release the ratchet on the warp beam and allow some of the warp to unwind.

Step 25
Turn the ratchet on the cloth beam to advance the warp you've released from the warp beam. Once the warp is advanced and under proper tension, the front apron rod should be about 1-2" from the front beam.

Step 30
Your loom and shuttle are ready to weave away!


Step 26
Winding your shuttle!
Hold the end of your weft yarn in the center of your stick shuttle.

Step 27
Wind the yarn around the center of the shuttle a few times to secure the end.

Step 28
Start winding the yarn in a figure-eight pattern around the edge of the shuttle. Do this by winding front to back through the slot on the top of the shuttle, pulling the yarn down to the bottom, and winding front to back through the bottom slot.

Step 29
Alternate the edge around which you wind the figure-eight and cut the yarn when you've got enough.

Warping a Frame Loom: Step 1
Select the right warping yarn. Choose a yarn that is strong and can withstand tension. All WE GATHER Loom Kits come with 100% cotton warp yarn. Begin by unwinding a bit of warp yarn from the holder.

Step 2
Pull about an 8-9" tail of warp yarn around the bottom bar of the loom and place it in the 3rd slot from the left side of the loom. Wrap the yarn around this twice.

Step 3
Bring the tail of warp yarn around the "tooth" adjacent to the 3rd slot and tie it in a double knot around the tooth to secure.

Step 4
This knot should be tight, stable, and should not slip when pulled. Leave the tail danging after tying.

Step 5
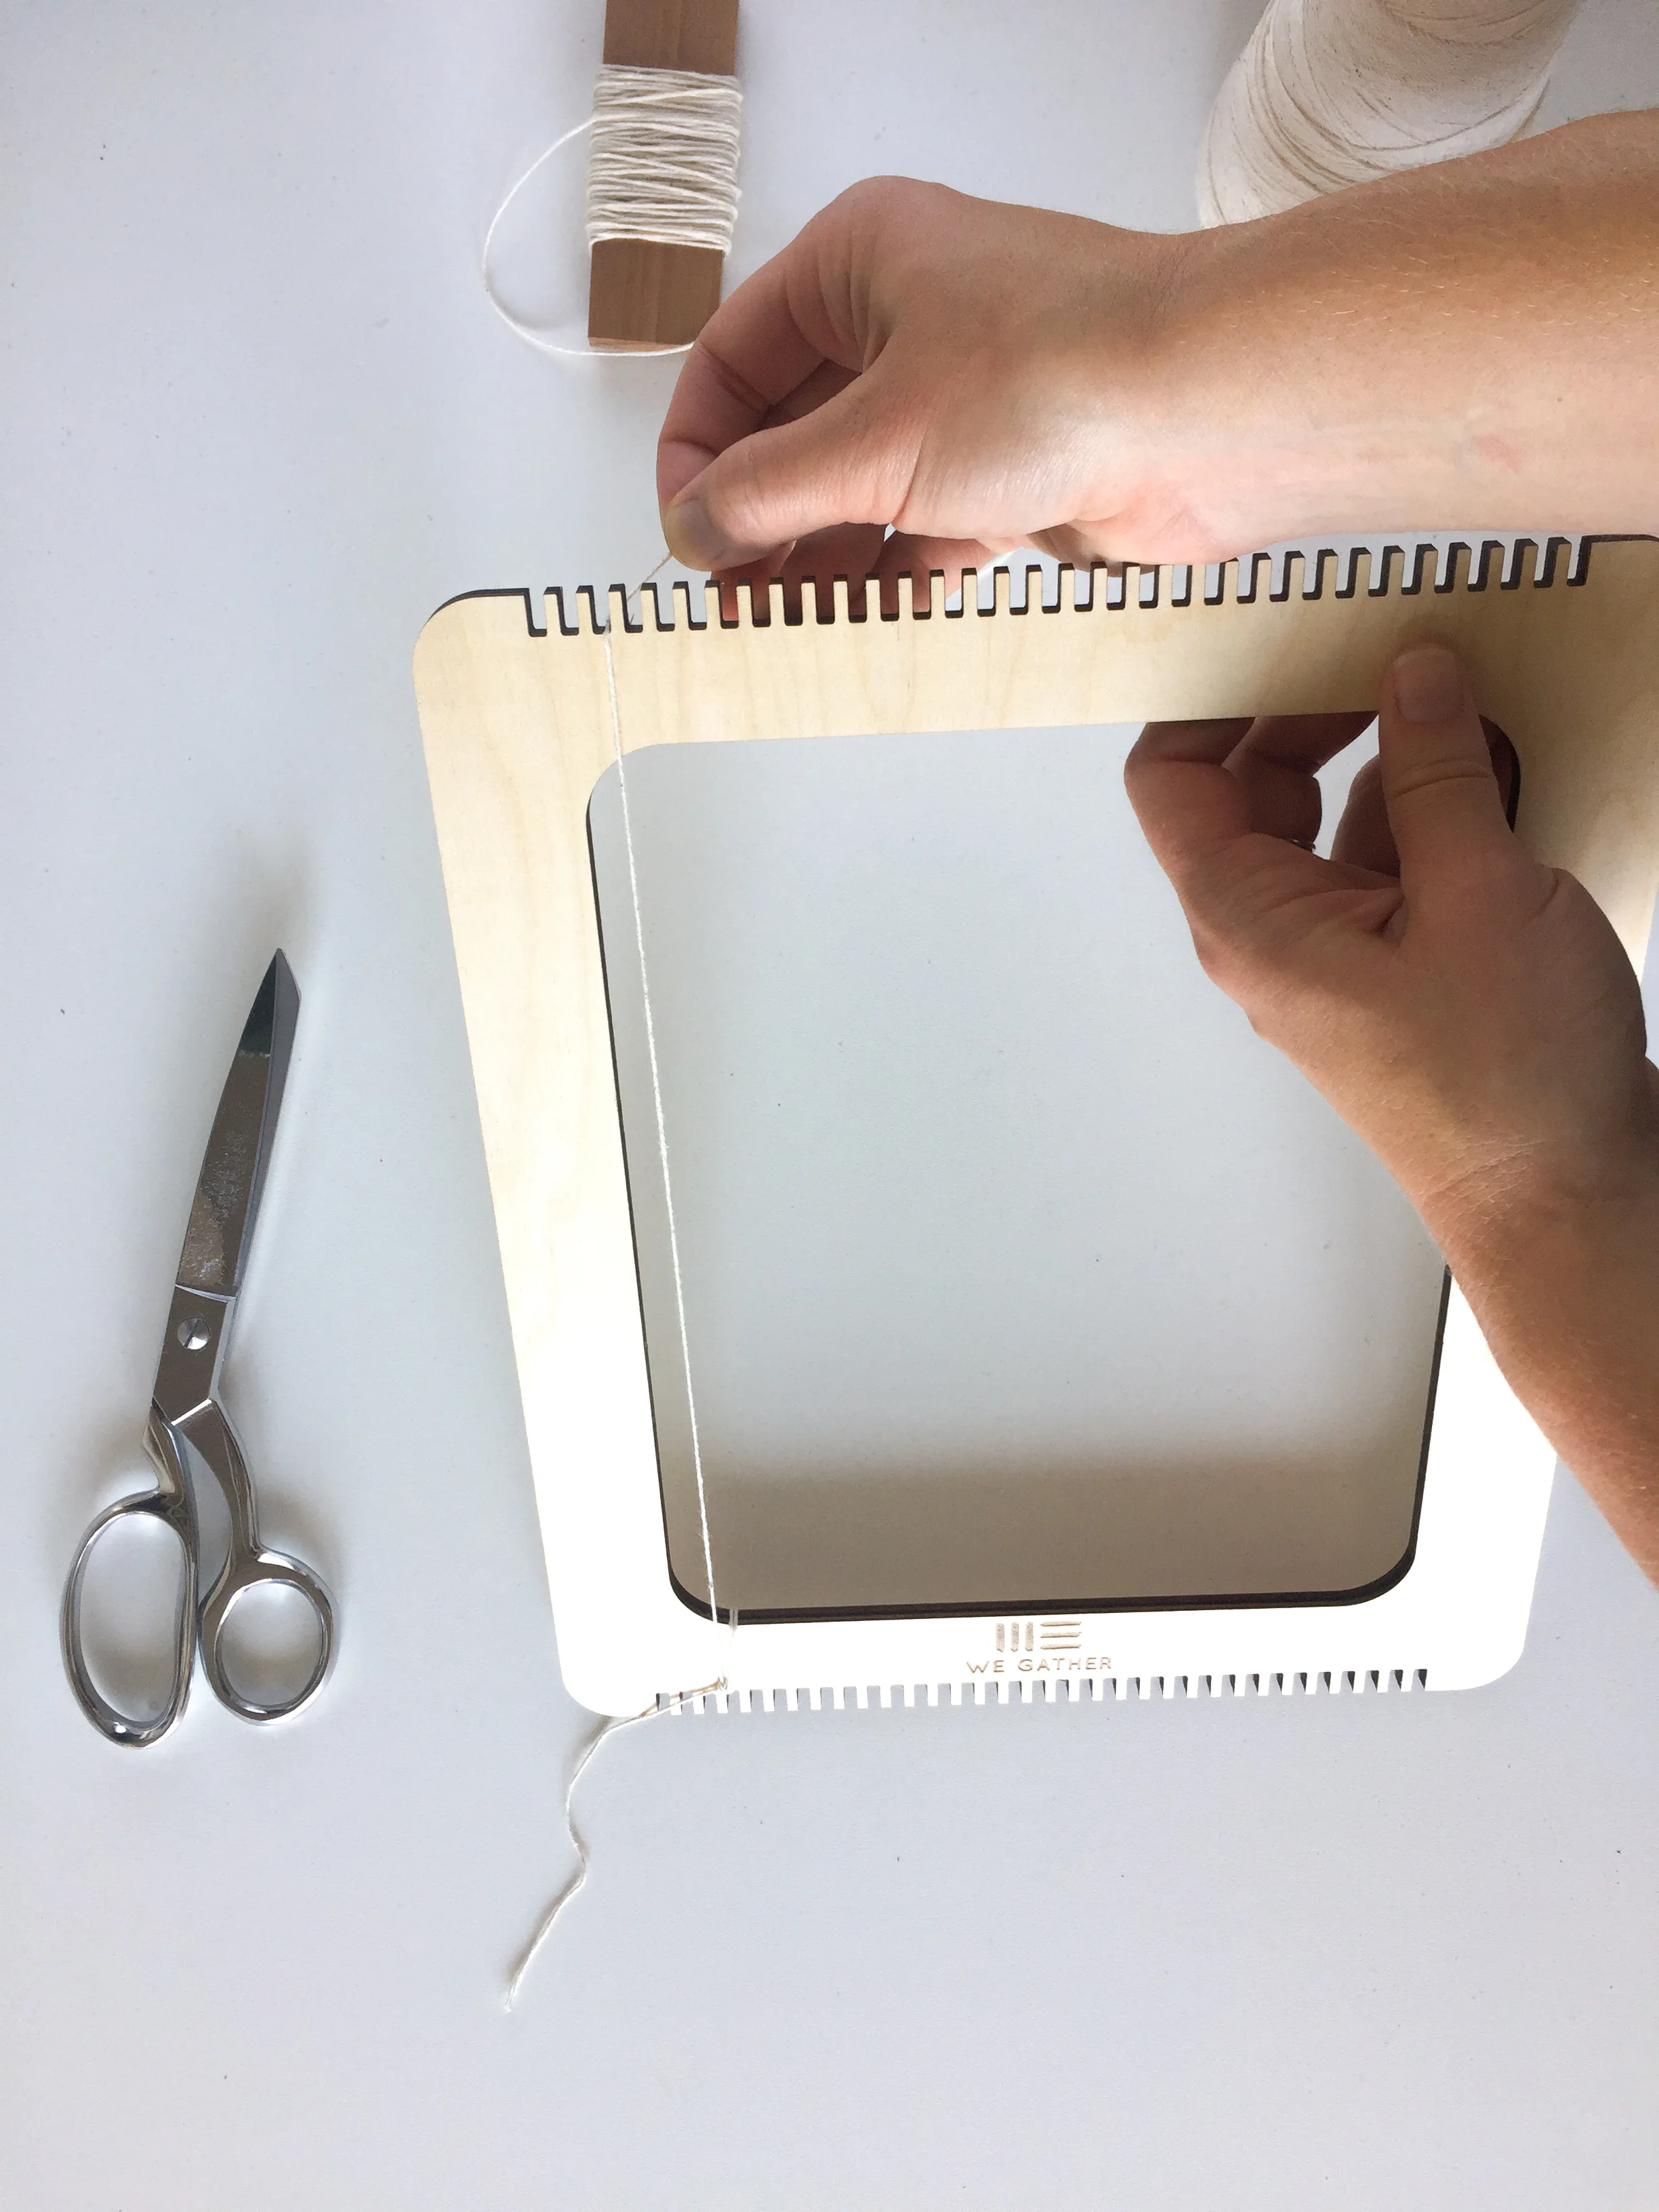
While holding the yarn under some tension, bring it up to the top of the loom and draw it, front to back, through the corresponding slot (3rd from the left).

Step 6
Wrap the yarn around the back of the "tooth," moving it to the right.

Step 7
Working on the front of the loom, pull the yarn back down to the bottom bar, always keeping a bit of tension on the yarn.

Step 8
Wrap the yarn around the next tooth of the loom on the bottom bar, again moving to the right.

Step 9
Draw the yarn back to the top of the loom and continue to snake the yarn around each subsequent tooth, top to bottom, bottom to top.

Step 9
Be sure to keep tension on the yarn and check for even spacing as you go.

Step 10
Wind in this manner until you get to the other side of the loom and the yarn is about to wind through the 4th slot from the right on the bottom of the loom. Cut the yarn with an 8-9" tail.

Step 11
Finish the warp yarn just as you started it. Wrap the yarn around the bottom bar twice, through the 4th slot from the right of the loom.

Step 12
Wind the yarn around the tooth to the right of that slot.

Step 13
Tie the yarn in a double knot.

Step 14
Check for even tension by closing your eyes and running your hand across the warp yarns. Identify by touch any yarns that are looser or tighter than the others.


Step 15
Gradually pull the yarns to and fro to distribute any looseness in the yarns.

Step 16
Once you have relatively even tension, you're ready to weave!!
Remember that functionality, not perfection is the goal. Have fun!


